How to Navigate Osaka Metro: Midosuji Line, Station Numbers, Exits and Transfers Explained
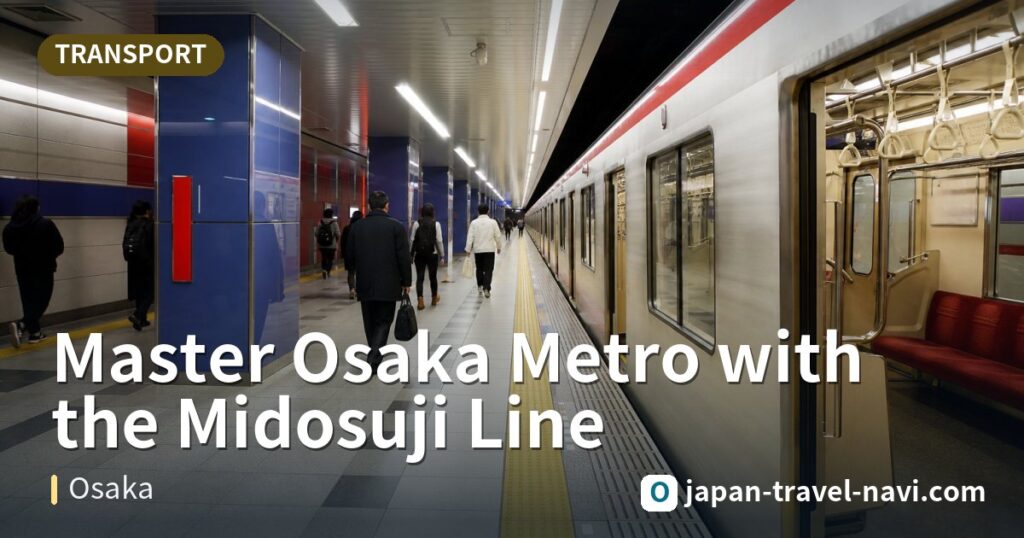
Osaka Metro is ideal for first-time independent travelers. Once you understand the Midosuji Line, you can connect most city sightseeing in about 3 days. We recommend avoiding weekday rush hours in the morning and evening, and allowing extra time at transfer stations.
Contents
Make the Midosuji Line Your Main Route Backbone
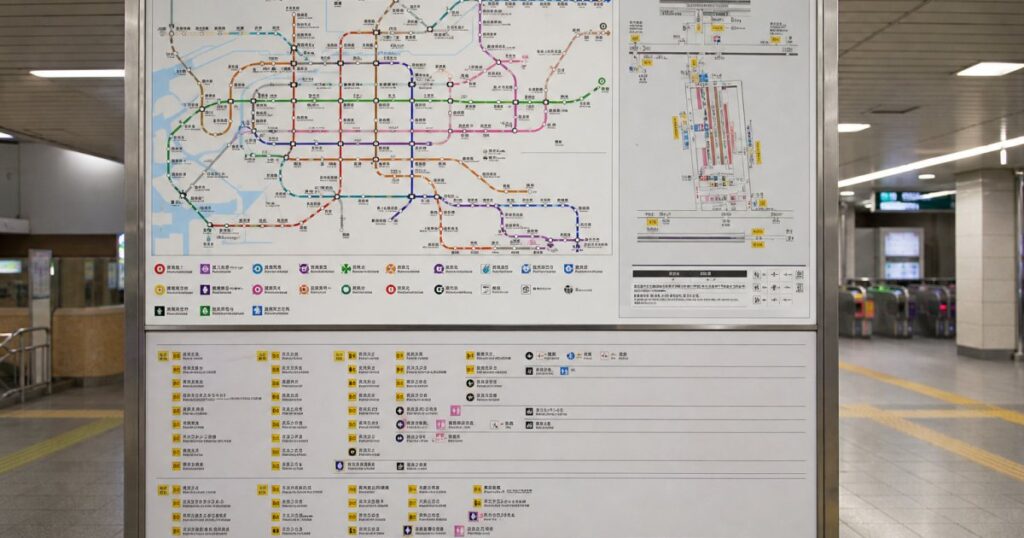
The Midosuji Line is Osaka Metro’s most important north-south trunk line, shown in red on maps with station codes beginning with M. Shin-Osaka is M13, Umeda is M16, Shinsaibashi is M19, Namba is M20, and Tennoji is M23. If you stay near Shin-Osaka, Umeda, or Namba, you can take this line to reach most attractions first, then supplement with other lines.
Suggested itinerary: head south from Umeda in the morning, stop at Shinsaibashi and Namba mid-day for shopping and dining, and wrap up near Tennoji or Tsutenkaku in the evening. This way you move generally in one direction without backtracking.
Understanding Station Numbers and Other Key Lines
Each station has a code combining “line letter + number,” like M20. Checking the station number is faster than reading Japanese names—just confirm whether the numbers increase or decrease in your direction. Other frequently used lines include the Tanimachi Line (T), Yotsubashi Line (Y), Chuo Line (C), Sennichimae Line (S), and Sakaisuji Line (K).
To visit Osaka Aquarium (Kaiyukan), take the Chuo Line to Osaka-ko Station and walk from there. For Osaka Castle, use the Tanimachi Line or another station closer to the castle, and compare walking distances on a map app before you go. If unsure which line is most convenient, enter your destination in a map app first, then check the station numbers to confirm.
Choosing the Right Exit to Avoid Getting Lost
Large Osaka stations have many exits, and choosing the wrong one can add 10+ minutes to your walk. Before exiting the fare gates, check the “exit guide map” posted nearby, locate your destination building or landmark, then decide which exit number to use.
- Check the exit number on a map app before leaving, then follow the yellow ceiling signs.
- When you encounter intersections in underground passages, prioritize following the exit number rather than guessing.
- On rainy days or when carrying large luggage, choose exits with elevators.
- Around Namba, if heading to Dotonbori, confirm which line’s Namba station you’re exiting from before choosing your direction.
Three Key Transfer Tips
First, similar names don’t mean the same station. Around Umeda there are Umeda, Higashi-Umeda (East Umeda), and Nishi-Umeda (West Umeda) stations, plus the JR Osaka Station, requiring walks through underground passages. Around Namba, the metro stations, Nankai Railway, Kintetsu Railway, and Hanshin Railway are scattered in different locations. Allow 10 to 15 minutes extra for transfers, and leave even more time if you’re catching a flight or shinkansen.
Second, transfer corridors are often very long and difficult with large luggage. When elevators are available, check their location on a map in advance.
Third, confirm the train direction and final destination before boarding. Platforms at the same station typically serve two directions, and taking the wrong one costs you an extra round trip.
Plan Around Peak Hours
The Midosuji Line is especially crowded on weekday mornings during rush hour and evenings during the after-work rush, particularly at Umeda, Namba, and Shinsaibashi stations. We recommend waiting for the morning commute to pass before heading out, and shifting your travel time earlier or later in the evening.
If you must travel during peak hours, consider storing large luggage at your hotel or in a station locker, or take a shorter route to avoid transferring between multiple lines. Weekends attract more tourists but are usually less crowded than weekday commutes, though busy stations may see queuing at platforms and fare gates.
Traffic and Itinerary Reminders
- Payment: We recommend getting a rechargeable transit IC card that works throughout the Kansai region for convenient entry, exit, and transfers. Check the official website for the latest information on day passes or other discount tickets before you travel.
- Prioritize station numbers: Use “line letter + number” to confirm direction and destination, which is more reliable than reading Japanese station names alone.
- Allow transfer time: At major transfer stations like Umeda and Namba, allow 10 to 15 minutes, and plan even more generously if catching a flight or shinkansen.
- Large luggage: Avoid carrying large bags during peak hours; store them at your hotel or in a station locker, and locate elevators in advance.
- Evening returns: Check return service times and last train times via the official app or map app to ensure you don’t stay out too late and miss your connection.
- Rainy days or crowds: Use underground passages connecting different areas, or group nearby attractions on the same line to minimize transfers.
This article was researched and written by the Japan Travel Information Station editorial team. Attraction and traffic information may change; please verify details with official announcements and each facility before your trip.
Always refer to the latest official information for current conditions.
This article was translated from our Traditional Chinese edition.
Related reading
 Kyoto by foot, bike, and taxi: how to combine them for the best use of time and energy
 Getting to Arashiyama: Comparing JR, Randen, and Hankyu Transit Options
 How to Get from Kansai Airport to Kyoto: Express Trains, Buses, Late Arrivals & Return Options
 Kyoto Metro, JR, Keihan & Hankyu: Complete Transit Guide to Skip Bus Traffic